You can tell whether a new roof was installed correctly by checking more than its color from the yard. Start with the written scope and completion photos, then look for straight shingle courses, secure ridge caps, clean roof edges, properly integrated flashing and vents, working drainage, a tidy property, and no new moisture after rain. You should not have to climb onto the roof to get those answers. A good Indian Trail roofer can show you the hidden work, explain the visible details, and correct a specific concern before the project is closed.
A new roof can look sharp and still leave important questions unanswered. Underlayment, deck repairs, fastener placement, and most flashing laps disappear as the shingles go on. By the final afternoon, the easiest work to photograph is not always the work you most need to see.
That is why the best quality check happens in stages. Documentation proves what was covered. A ground-level review catches visible irregularities. The attic and the first few rains test whether the whole assembly is managing water as intended.
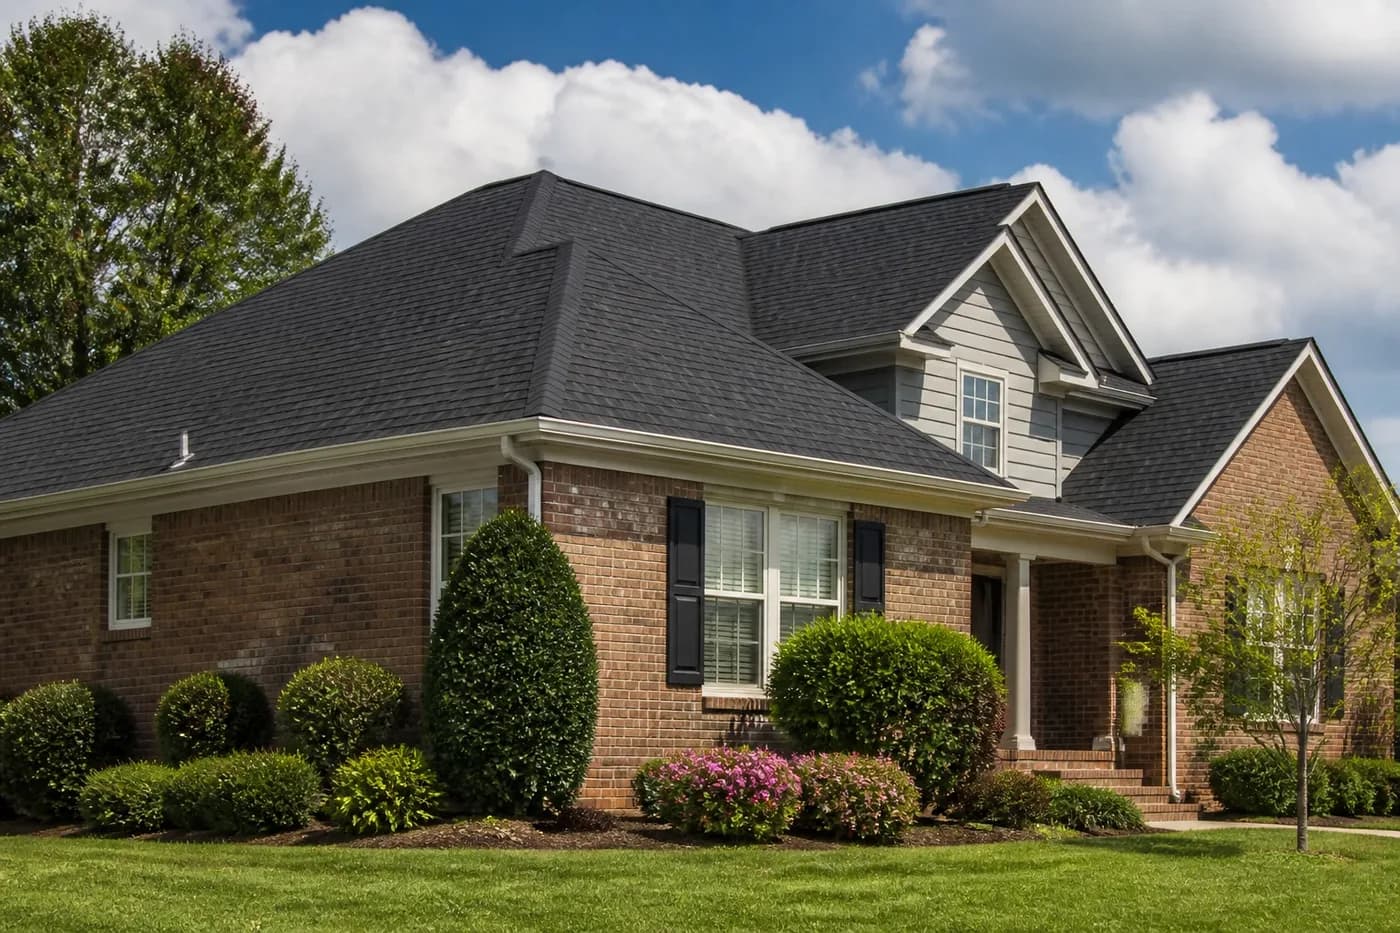
What Documents and Photos Should You Review?
Pull out the signed proposal first. The brand and shingle line should match what arrived. So should the underlayment, ridge cap, starter material, ventilation work, flashing terms, disposal, cleanup, and any agreed property protection. If the crew found damaged decking, compare the invoice with the approved change order and the photos showing where the wood was replaced.
Then look at the photo sequence. Useful documentation starts with the roof after tear-off. You want broad views of the exposed deck, followed by close enough images to understand repaired sections, valleys, eaves, walls, chimneys, pipes, vents, and other penetrations. Photos of underlayment and flashing before the shingles cover them matter more than ten beauty shots taken at sunset.
Dates and context help. A single tight photo of new plywood does not show which slope it belongs to. A well-organized set moves around the house in a consistent order and lets the production lead explain what changed.
If your proposal was vague from the beginning, closeout will be harder. Our guide to questions to ask before hiring an Indian Trail roofer covers the written scope, materials, hidden decking, warranties, cleanup, and payment timing that should be settled before tear-off.
What Should a Correctly Installed Asphalt-Shingle Roof Look Like?
Stand in a few safe locations on the ground and look across each visible slope. Shingle courses should run in orderly lines. Hips and ridges should follow the roof shape without loose, crooked, or missing cap pieces. Valleys should look deliberate rather than clogged with cut scraps, exposed fasteners, or metal that suddenly disappears beneath an awkward patch.
Do not expect the roof to look like a computer drawing. Real framing, multiple additions, and changing light can create small visual differences. Fresh shingles may also need suitable warmth and time for factory sealant strips to bond. But there is a difference between normal texture and a tab that is clearly folded, a course that wanders, a patch that is buckled, or a roof edge that looks unfinished.
Check the perimeter too. The roof should terminate cleanly at the eaves and rakes. Gutters should remain secured, downspouts should connect normally, and water should have a clear route away from the roof edge. Siding, shutters, screens, landscaping, and exterior fixtures should not be left damaged or covered with roofing debris.
One visible issue does not automatically condemn the whole roof. It does give you a specific question: “What is happening at this location, and how will you verify it?” Mark the spot from the ground with a photo and a description of the side of the house. That is far more useful than climbing up and risking a fall.
How Do Flashing, Ridge Caps, and Vents Fit Into the Final Check?
Most early roof concerns begin at details, not in the open middle of a broad shingle field. Walls, chimneys, valleys, plumbing pipes, box vents, skylights, and roof edges interrupt the normal downhill flow of water. Each transition needs a layered path that directs water back onto the roof surface.
You may not be able to see every flashing lap from the yard. That is exactly why progress photos matter. At a roof-to-wall location, the images should show how the flashing and shingles were integrated before siding or trim hid the top edge. Around a plumbing vent, they should show a correctly sized boot and flange layered with the shingles—not a ring of caulk doing all the work.
Ridge and hip caps should be the compatible finishing pieces specified for the roof system, installed continuously where the roof planes meet. If ridge ventilation is part of the design, the opening, vent material, end treatment, and cap shingles have to work together. Our guide to new ridge cap shingles during roof replacement explains what to confirm in the estimate and final photos.
Ventilation is not improved by adding random exhaust vents. Intake near the soffits and exhaust near the upper roof need to be considered as one attic-airflow system, without mixing approaches that short-circuit one another. The closeout explanation should identify what stayed, what was replaced, what was removed, and why. See our Indian Trail guide to roof vent replacement during reroofing for the details to ask about.
What Should You Check in the Attic and After Rain?
If the attic is safely accessible, look from stable flooring or a proper walkway. Do not step between ceiling joists, touch electrical equipment, or enter while roofing work is active. Compare any old stains you knew about with the area now. New dampness, wet insulation, fresh water tracks, dripping fasteners, or a musty patch after rain should be documented and reported.
Random daylight can also deserve attention, though not every line of light means a hole. Purpose-built soffit and ridge ventilation can admit a controlled, even glow. Jagged openings, unexpected pinpoints, or daylight paired with moisture and displaced material are different. When in doubt, ask the roofer to identify the feature in person.
The first hard, wind-driven rain is informative. Check ceilings, upper walls, attic penetrations, chimneys, and skylight areas afterward. Outside, make sure gutters drain instead of overflowing behind the edge and that no cap, shingle, or metal piece has shifted.
A dry house after one storm is reassuring, but it is not the only quality test. Some details face a certain wind direction, and some problems take time to show. Keep the completion photos, contract, invoices, warranty information, and your own after-rain notes together. If a concern appears later, you will have a clean record rather than trying to reconstruct the job from memory.
What Belongs on the Final Walkthrough List?
Walk the property with the project lead before closeout. Review each roof side from the ground, the areas where materials were staged, planting beds, patios and paths, gutters, downspouts, siding, windows, exterior equipment, and the route used by the crew. Magnetic nail pickup helps, but nails can hide in mulch and thick ground cover. Look carefully rather than assuming one pass caught everything.
Ask the contractor to explain any item that looks different from the scope. Maybe a vent was removed, a flashing detail was rebuilt, or more decking was needed than expected. The answer should connect the field condition to a photo, a product requirement, or an approved change—not “that is just how roofs are.”
Finish with paperwork. Confirm the final invoice, payment record, product details, workmanship terms, manufacturer registration steps if applicable, and the contact process for a callback. Write down unresolved items with a target date. A short punch list is normal on many construction projects. Pretending a visible concern does not exist is not.
And keep the standard reasonable. A roof inspection is not a search for microscopic cosmetic variation. The goal is to verify that the agreed system was installed, that water can move off the roof, that vulnerable details were handled correctly, and that the home was left protected.
Need a second look at a new or recently completed roof in Indian Trail?
Kaliber Roofing can inspect visible roof details, review leak concerns, and explain what is working and what may need correction.
Schedule a Free Roof InspectionFrequently Asked Questions
Should a new roof look perfectly flat right away?
A finished asphalt-shingle roof should have straight, consistent courses and no obvious lifted tabs, buckled areas, or sharp waves. Minor visual variation can come from roof geometry, lighting, or shingles settling and sealing in suitable weather. A persistent raised area, broken line, or visibly loose section deserves a closer inspection rather than a guess from the ground.
What photos should I receive after roof replacement?
Ask for photos of the exposed deck, any replaced wood, underlayment, roof edges, valleys, flashing, penetrations, ventilation details, and the completed roof. The useful set shows work that the finished shingles now hide, not only a few attractive pictures of the final surface.
How soon would a poorly installed roof start leaking?
There is no reliable countdown. Some installation problems leak during the first wind-driven rain, while others stay hidden until sealant, flashing, or a vulnerable detail is tested by a later storm. That is why completion documentation and a careful final review matter even when the ceiling is dry on day one.
Can I inspect a new roof without climbing on it?
Yes. Review the roof from safe ground locations, inspect accessible attic areas only when conditions are safe, compare the written scope with completion photos, and ask the contractor to explain details you cannot see. Do not climb onto a steep or unfamiliar roof to perform your own final inspection.
What should I check after the first heavy rain?
From inside, look for new ceiling stains, damp attic insulation, water tracks on decking or framing, and moisture around penetrations. Outside from the ground, look for displaced shingles, overflowing gutters, loose metal, or debris. Report a new concern promptly and document when and where you saw it.
What if the completed roof does not match the contract?
Write down the specific difference and compare it with the signed scope, approved change orders, product documents, and completion photos. Ask the contractor for a clear written explanation and correction plan before final closeout. Material substitutions, omitted details, or unexplained extra charges should not be handled with a vague verbal answer.