The direct answer
Roof replacement progress photos should show where each image was taken, what condition was exposed, which materials were installed, and what changed before the finished shingles hid the work. Ask for a sequence of wide location views, middle-distance context, and close details covering the roof deck, repairs, underlayment, leak barriers, roof edges, valleys, flashing, penetrations, ventilation, and final cleanup. The goal is not a giant folder of unlabeled close-ups. It is a reviewable record that connects concealed work to the signed scope, written changes, and completed roof.
Build a location-detail-finish sequence
A close photograph of black membrane or bare wood is difficult to use when nobody can tell whether it came from the front eave, rear valley, chimney, or another property. Start each important condition with a wide view that shows the roof plane and nearby landmarks. Follow it with a middle-distance image that identifies the affected section, then a close view that shows the material or defect. Finish with another recognizable view after the work is complete.
That sequence is the article's practical contribution: location, detail, and finish should remain connected. It lets an Indian Trail homeowner compare the photo record with the roof diagram, original proposal, and approved changes without pretending to perform a technical inspection from a phone screen.
Agree on delivery before tear-off. Ask whether images will arrive by email, shared folder, project portal, or another method; whether they will retain their original resolution; and who will explain unfamiliar details. North Carolina Licensing Board for General Contractors guidance tells homeowners to monitor work in progress and keep project documents, correspondence, and progress photos. A simple naming pattern such as “rear-left-valley-before” is more useful than a camera roll of repeated file numbers.
Photograph the exposed deck before it disappears again
After the old roofing is removed, wide overlapping views should document the exposed roof deck. The record should show the general condition across each roof area, not only the cleanest section or one damaged board. Close views should identify soft, rotten, delaminated, broken, poorly supported, or previously patched areas that affect the approved scope.
When decking is replaced, connect the change to a recognizable location. Photograph the condition before removal, show the measured or marked boundary when practical, and capture the completed repair before underlayment covers it. If the contract uses an agreed unit price, the written change should record the quantity and price rather than asking the photos to serve as the entire change order.
Color alone is not a reliable decking test. A dark stain may be old and dry, while apparently clean wood can still be damaged or unable to hold fasteners. The contractor has to evaluate the exposed material directly. Photos support that decision record; they do not turn a visual impression into a structural conclusion.
Capture the water-shedding layers before shingles cover them
Underlayment photographs should show enough roof area to identify coverage direction, laps, transitions, and the relationship to eaves, rakes, valleys, walls, and penetrations. If the scope includes a self-adhered leak barrier, photograph its actual locations rather than only the product wrapper. Starter material and drip edge also deserve staged views because the first field-shingle course hides most of the finished assembly.
Material-label images can connect the installed roof to the proposal. Useful label photos identify the field-shingle line and color plus named starter, ridge-cap, underlayment, leak-barrier, and ventilation products when those components are part of the selected system. A pile of bundles in a driveway is not proof that each product reached the correct roof detail, so pair material records with installation-stage views.
Indian Trail weather can force a pause during replacement. If work stops before the roof is complete, document what area remains open, what temporary dry-in protects it, and the condition checked before permanent installation resumes. Do not cover wet or questionable materials merely to recreate a neat progress photo.
Prioritize flashing, valleys, roof edges, and openings
The most valuable photos often show details that are difficult to evaluate after completion: valleys before shingles conceal the lining; roof-to-wall step flashing and its connection to the wall; chimney base, side, and uphill details; plumbing vent flanges; skylight flashing; eave and rake preparation; and the ends of ridge ventilation. Use both wide and close views so each detail has a location.
Complex corners need context. Today's Indian Trail repair guide on leaking gable returns explains how roof covering, flashing, trim, cladding, and gutter drainage can meet in one compact area. During replacement, a photo that shows only one metal edge cannot document that entire water path. The sequence should show how the connected layers drain toward the exterior.
Ventilation photos should identify what was opened, closed, retained, or replaced. A finished ridge vent does not by itself show that the ridge slot, end treatment, and intake path match the written plan. Record the relevant concealed stage while keeping project-specific ventilation calculations and product requirements in the contractor's scope.
Use photos to explain changes, not to replace written approval
When tear-off reveals unexpected decking, flashing, framing, ventilation, or extra roof layers, the useful record has four parts: a wide location photo, a close condition photo, a written explanation of the proposed change, and the homeowner's approval through the agreed process. The completed-stage photo then closes the loop.
North Carolina contractor guidance recommends detailed written contracts, written changes, payments that follow completed work, and retained project records. A text containing one close-up and “we need another $800” does not define the quantity, repair boundary, materials, schedule effect, or warranty effect. Likewise, a photo cannot decide whether a local permit or another qualified trade is required.
The record should also show when a suspected problem did not expand. If a stained area proves sound after direct evaluation, document the location and the contractor's conclusion instead of creating an unnecessary replacement line. Progress photos are most useful when they explain the evidence behind both added work and work that stayed within scope.
Finish with complete roof and property views
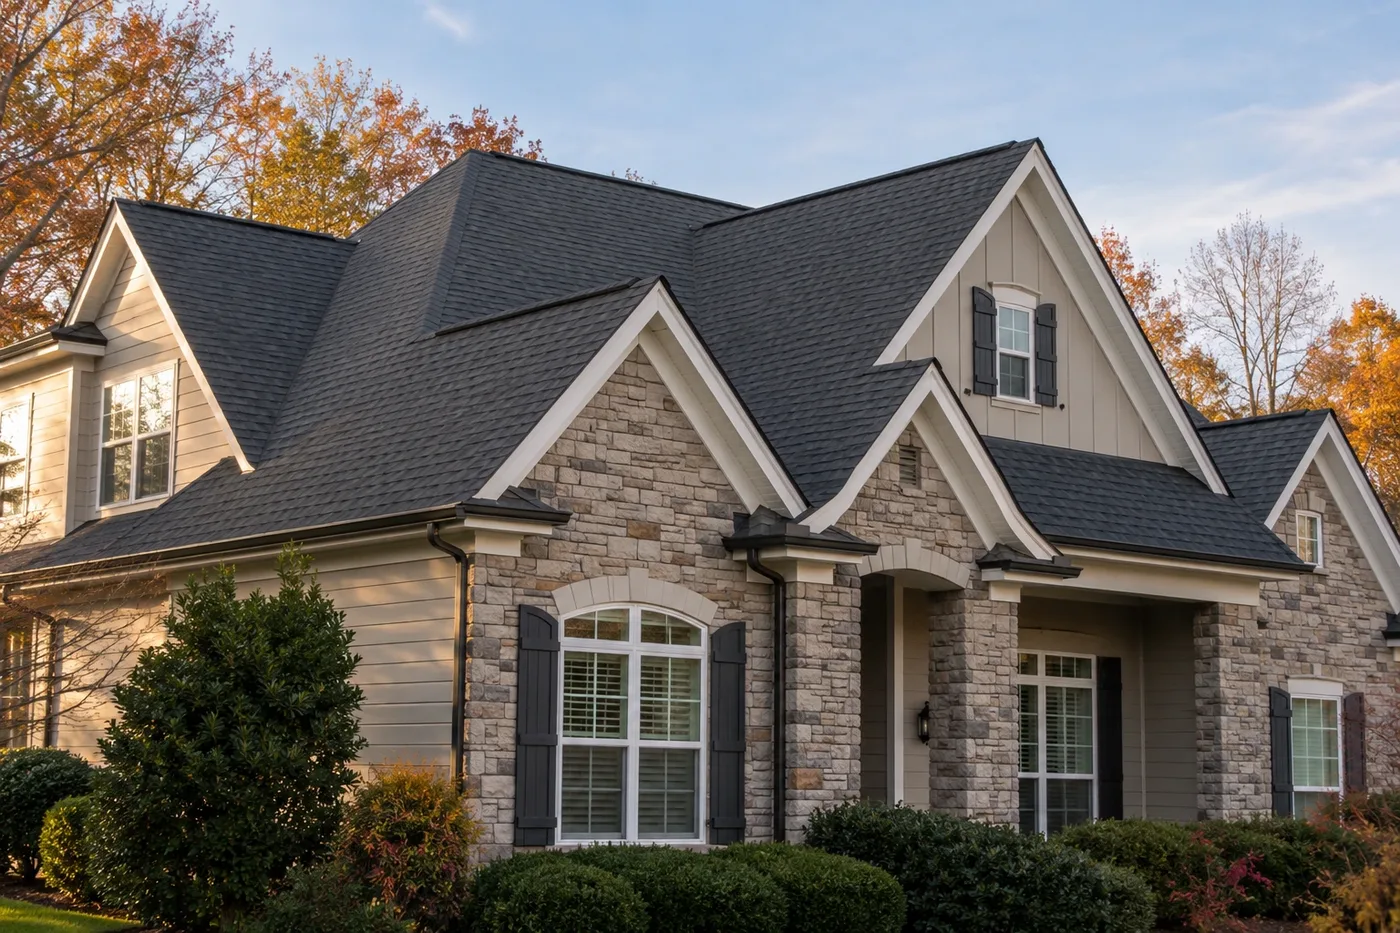
The final set should include each roof elevation, hips and ridges, valleys, penetrations, wall intersections, roof edges, gutters affected by the work, and any corrected punch-list item. Ground-level views should also document cleanup around accessible lawns, landscaping, patios, and hard surfaces. GAF's homeowner checklist recommends a final walkthrough, cleanup review, and collection of contract and warranty documents.
Compare the finished images with the signed scope and every approved change. Confirm that the file includes the products installed, changed decking or details, final invoice, workmanship warranty, manufacturer documents, and applicable permit or inspection records. Kaliber Roofing provides a 10-year workmanship warranty on roof replacements; that contractor coverage is separate from manufacturer material warranties, and the issued documents control the actual terms.
Keep original files rather than screenshots compressed by a message app. Store them in folders by date and roof area, then back up the complete roof record somewhere other than one phone. If a future repair is needed, a recognizable photo sequence can help identify what was installed near the affected detail.
Know what the photo record cannot establish
Photos do not prove every fastener's length, placement, or depth. They may not show concealed laps, adhesion, deck moisture, material storage, or a connection hidden behind siding or masonry. Camera angle and missing context can make a correct detail look questionable or hide a real problem. The record should never be presented as a substitute for contractor supervision, selected product instructions, or an applicable inspection.
They also do not create insurance coverage, warranty coverage, code approval, or a structural opinion. Those decisions depend on the actual policy or warranty, project documents, conditions, and appropriate qualified authority. State Farm's roof-replacement guidance similarly recommends retaining project photos alongside the final invoice, permits, inspection records, product information, and warranties—not instead of them.
If you are planning a replacement, Kaliber can evaluate the existing roof, explain repair versus replacement, and provide a written roof replacement scope for an Indian Trail home. Same-day or next-day inspection availability is subject to scheduling.
Related Indian Trail roofing guidance
Common questions
How many roof replacement photos should I receive?
There is no universal number. The useful standard is coverage: wide views that locate each roof area, closer views of important conditions and concealed layers, and final views that connect the completed work to the approved scope. A smaller organized set can be more useful than hundreds of unexplained close-ups.
Should progress photos show every roof-deck sheet?
The photo plan should document the exposed deck broadly enough to show its overall condition and should identify every area replaced or repaired. On a complex roof, several overlapping wide views may be needed. Photos do not replace direct inspection of the exposed deck by the contractor.
Which roof details are most important to photograph before shingles cover them?
Prioritize valleys, eaves and rakes, roof-to-wall intersections, chimneys, skylights, plumbing vents, other penetrations, underlayment transitions, leak barriers, changed decking, ventilation openings, and any detail that differs from the original scope.
Do roof replacement photos prove the installation is correct?
No. They document what the camera captured. They may help show products, locations, conditions, and work stages, but they cannot establish every fastener, overlap, concealed connection, product requirement, or code decision. The signed scope, product instructions, supervision, applicable inspections, and final records still matter.
How should I store roof replacement photos?
Keep the original full-resolution files in a folder organized by date and roof area. Save them with the signed proposal, written changes, final invoice, product information, workmanship warranty, manufacturer documents, and any applicable permit or inspection records.
Sources and editorial notes
- North Carolina Licensing Board for General Contractors homeowner guidance on contracts, written changes, monitoring, payments, records, and progress photos
- GAF homeowner roofing-project preparation, final-walkthrough, cleanup, and document checklist
- State Farm roof-replacement scope, contractor, closeout, and project-record guidance
Prepared from current state-board, manufacturer, and homeowner risk-guidance sources plus Kaliber's verified service and replacement-warranty information. Written with AI assistance and editorially reviewed by Sage. No human approval is claimed. General homeowner education; not an on-site inspection, installation approval, structural opinion, permit or code ruling, legal advice, insurance decision, warranty interpretation, or project-specific conclusion.