Before roof replacement starts, confirm the signed scope, exact roofing products and color, start window, weather and dry-in plan, material and debris locations, property-protection details, homeowner and crew contacts, concealed-damage approval process, progress-photo expectations, cleanup, and final closeout. Walk the property with the project lead and write down any clarification that changes the contract. The goal is not to redesign the roof at the last minute; it is to make sure the paperwork, roof details, property conditions, and day-of-work plan all describe the same project.
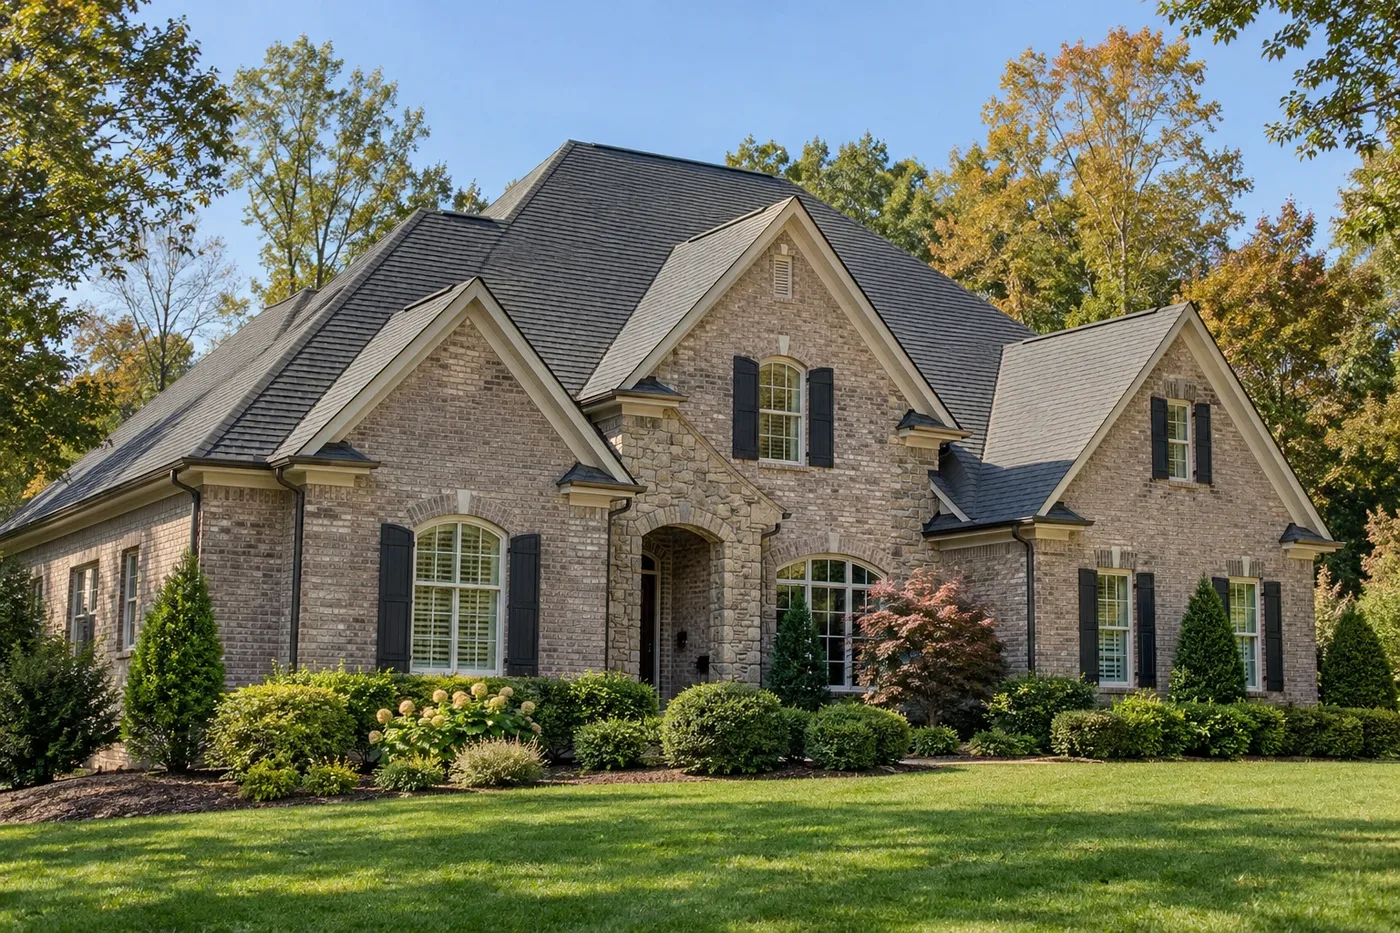
Use the signed scope as the walkthrough baseline
Bring the signed proposal and any approved selections to the walkthrough. Confirm the tear-off, roof areas included, shingle system, underlayment, leak barrier, starter shingles, hip and ridge caps, flashing, pipe boots, ventilation work, decking terms, cleanup, warranties, and known exclusions. A verbal summary should match those documents rather than replace them.
The North Carolina Licensing Board for General Contractors advises homeowners to require a detailed written contract that describes the work, materials, equipment, payment schedule, and timeline, with changes recorded in writing. The Federal Trade Commission likewise recommends a written agreement that identifies the work, materials, price, and estimated dates. Those principles make the pre-job meeting a verification step—not an invitation to rely on a new handshake promise.
If the walkthrough reveals a mismatch, pause that item long enough to document it. A different shingle line, a missing roof plane, an unassigned chimney detail, or an unclear decking price belongs in a written clarification before crews open the roof. Do not sign a blank change authorization or assume a text message silently rewrites the complete agreement.
Confirm the products before they reach the roof
Match the manufacturer, shingle product line, color, and specified accessories to the approved scope. Also identify the underlayment, leak barrier, starter, ridge-cap product, vents, and penetration flashings where the contract specifies them. Owens Corning’s homeowner guidance says a roofing estimate should identify the shingle brand, product line and color along with underlayment, flashing, and ventilation materials.
Agree on where bundles, accessories, and any debris container may be placed without blocking required access or loading a vulnerable surface. GAF recommends discussing material and dumpster delivery locations in advance and checking the delivered shingle brand, quality, and color. The homeowner does not need to supervise inventory or installation, but an obvious product or color mismatch is easier to correct before opening packages or loading the roof.
Decide how substitutions will be handled. A supply change should not happen merely because a similar-looking product is available. Confirm compatibility with the selected roof system, the effect on price or warranty, and written homeowner approval when the contract requires it.
Walk the property and assign the work zones
Identify gate access, material staging, debris routes, outdoor power, parking limits, and the areas that must remain open. Point out sprinkler heads, low landscape lights, delicate planting beds, septic or drainage features, exterior air-conditioning equipment, patios, decks, and anything already damaged or loose. Take dated overview photos from safe ground locations before staging begins.
Confirm where children, pets, and occupants should stay while work is active. Roofing creates falling-debris, noise, vibration, and sharp-fastener hazards even on an organized site. Homeowners should not enter marked work zones, climb onto the roof, move crew safety equipment, or approach the debris container during tear-off.
Discuss interior preparation too. Move fragile wall items and protect ordinary attic storage from dust while keeping vents, wiring, ducts, mechanical equipment, and any required access clear. If the crew needs attic access for decking, leak, or ventilation documentation, agree on when and how that access will happen rather than leaving the house open all day.
Name the decisions that may arise after tear-off
The walkthrough should identify who can approve changes, how that person will be reached, and what evidence must accompany a request. For concealed decking or another hidden condition, confirm the agreed unit price or pricing method, the photo and location record, the proposed quantity, and whether work pauses for approval. A defined process is more useful than an open-ended allowance.
List roof details that need special coordination before they are covered: chimneys, wall transitions, low-slope sections, skylights, solar attachments, satellite mounts, gutters, powered vents, electrical service equipment, and exhaust penetrations. Today’s Indian Trail guide on chimney counterflashing explains why sound masonry may remain while connected step flashing, base flashing, counterflashing, underlayment, and shingles still need a clearly assigned scope. Any masonry, electrical, HVAC, solar, or structural work should be assigned to the appropriate qualified party rather than improvised during tear-off.
Confirm the weather decision and temporary-protection plan in general terms. The contractor should decide when conditions are suitable to open the roof and how exposed work will be protected if weather changes. The homeowner should know who communicates a delay and what areas may remain open at the end of a work period; a general article cannot approve a dry-in method for a specific roof or forecast.
Set the communication and closeout plan before work starts
Exchange the project lead’s contact information and the homeowner’s primary and backup contacts. Confirm the expected start window, working-day estimate, arrival or delivery notices, and how weather or a concealed condition will be reported. Same-day decisions are easier when the right people know which channel to watch.
Agree on the photo sequence before layers disappear: useful wide views to locate work, open-roof photos of relevant decking and details, progress photos of concealed layers, and finished views. Photos document what the camera captured; they do not replace installation instructions, inspection, or the signed scope. Still, a planned sequence creates a much clearer project record than unexplained close-ups delivered after the fact.
Finish by naming the closeout items: debris removal, gutter and ground check, magnetic nail sweeps in accessible areas, final walkthrough, punch-list process, final invoice, approved changes, product information, manufacturer paperwork, and written workmanship coverage. Kaliber Roofing provides a 10-year workmanship warranty on roof replacements; manufacturer material coverage is separate. The project documents for a specific home control the exact coverage and responsibilities.
Related guidance
Common questions
When should the roof replacement pre-job walkthrough happen?
Hold it after the scope and product selections are approved but before material placement or tear-off. If site conditions, access, or the work plan change later, document the update before the affected work proceeds.
Should roofing materials already be delivered for the walkthrough?
They do not have to be. Confirm the delivery date and placement plan first. Once materials arrive, compare visible labels and the shingle color with the approved selection before installation, without opening or moving bundles yourself.
What if the walkthrough conflicts with my roofing contract?
Treat the signed agreement as the baseline and put any accepted clarification or change in writing. Do not rely on a verbal promise or blank authorization to resolve a different product, scope, price, schedule, or responsibility.
Do I need to be home during the roof replacement?
Not necessarily, but the contractor should have a reachable decision-maker and backup contact. Confirm access, pets, alarms, gates, vehicles, and the approval process before leaving.
Can a pre-job walkthrough guarantee there will be no added cost?
No. Tear-off can expose concealed conditions that were not visible during estimating. The walkthrough should confirm how those findings will be documented, priced, approved, and added to the final project record.
Sources and editorial notes
- North Carolina Licensing Board for General Contractors homeowner guidance on written contracts, changes, payment schedules, timelines, records, and progress photos
- Federal Trade Commission home-improvement contract and payment guidance
- GAF homeowner checklist for delivery, property preparation, jobsite coordination, and closeout
- Owens Corning guidance on identifying roofing products, cleanup, permits, and project terms
- Owens Corning overview of roof replacement preparation, installation, cleanup, and final walkthrough
Prepared with AI assistance and editorially reviewed by Sage. General homeowner planning guidance; not an on-site diagnosis, contract or warranty interpretation, legal advice, safety plan, code decision, product-specific installation approval, or substitute for evaluation by the appropriate qualified professional.