Check a finished roof repair in four parts: confirm that the completed work matches the written scope, review wide and close photos taken before, during, and after the repair, inspect the finished area safely from the ground, and monitor the same interior or attic location after comparable rain. A good closeout record should identify the repair boundary, materials, concealed conditions, changes, and warranty or callback process. A dry ceiling immediately after the crew leaves is encouraging, but it does not by itself prove that the original water path was found or that every hidden layer was restored correctly.
Start with the exact repair boundary
Read the approved scope before judging the finished roof. It should identify the affected location and say what the contractor planned to remove, inspect, replace, reseal, or leave in place. “Roof repair” is too broad to confirm. “Replace damaged shingles and underlayment around the rear powered attic fan, inspect the flange and deck, and reinstall the fan according to the applicable instructions” gives you a real boundary to check.
Compare that description with the invoice and any approved change. If soft decking, damaged flashing, a cracked vent housing, or another concealed condition changed the work, the final record should show what was found and how the scope changed. An extra charge without a location, photo, quantity, or explanation is difficult to evaluate later.
The repair boundary also keeps expectations honest. A focused repair can correct one failed detail without becoming a guarantee for every slope, vent, wall transition, or old stain on the roof. The closeout should make clear what was addressed and what, if anything, remains outside the work.
Use photos to connect the diagnosis to the finished work
Ask for a simple sequence rather than a folder of unexplained close-ups. A wide photo should locate the repair on the house. A closer “before” image should show the condition that supported the recommendation. Progress photos should show important layers while they were exposed, and the finished view should show how the repaired area ties back into the surrounding roof.
For an asphalt-shingle repair, useful progress images may show the exposed deck, underlayment, flashing flange, shingle tie-in, fastener locations that will be concealed, and any damaged material that was removed. The exact details depend on the component and manufacturer instructions. NRCA describes its asphalt-shingle repair manual as step-by-step, photo-illustrated guidance for identifying problems and properly repairing these systems; that is a useful reminder that a repair is a sequence of details, not merely the final surface.
Photographs have limits. They document what the camera captured, not every hidden condition or the future performance of the roof. Keep the original files and a short location label. Our guide to roof-repair records explains how to store the scope, photos, products, payment information, and written coverage together.
Inspect the finished area without climbing onto the roof
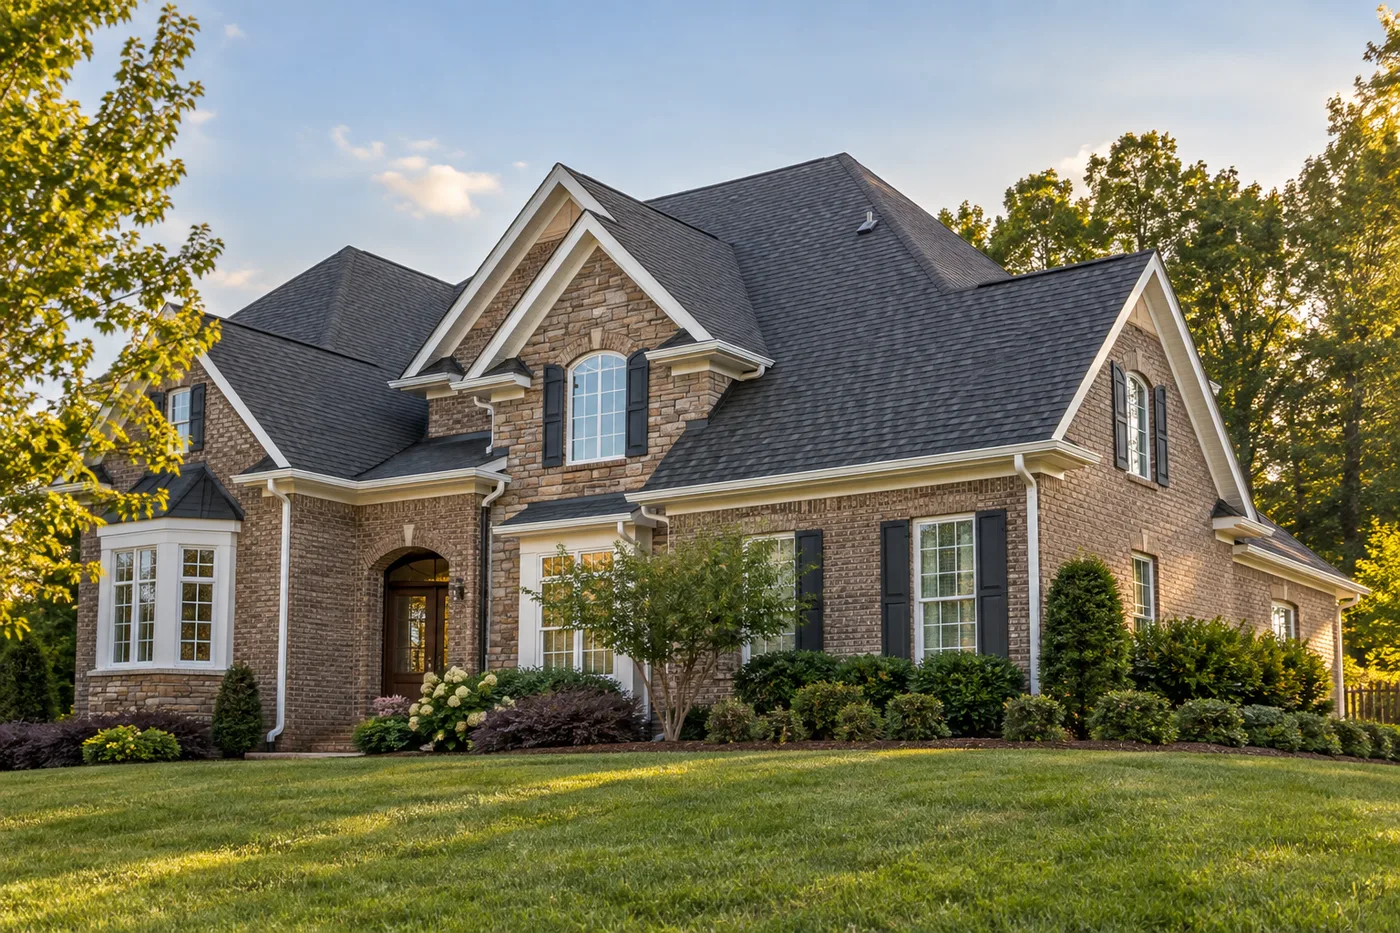
From dry ground, compare the repaired area with the surrounding roof. Look for an orderly shingle pattern, secure edges, a clean tie-in, and no loose material, exposed debris, or obvious gap. Around a vent or other penetration, the component should sit squarely and the surrounding shingles should remain coherent. Around an eave, wall, chimney, or valley, water should still have an uninterrupted downhill path.
A repair does not have to be invisible. New shingles can differ from weathered roofing even when the product is compatible, and some repaired details are naturally more noticeable from one angle. Appearance alone is not proof of failure. The useful question is whether the repair restores the intended water-shedding assembly and reaches sound material.
Do not lift shingles, pull on flashing, touch a powered ventilator, or climb onto a steep roof to test the work. GAF advises homeowners to document visible roof concerns from safe vantage points and have professionals evaluate repair needs. Use phone zoom or binoculars from the ground, then ask the contractor to explain anything you cannot safely see.
Compare the result with the original symptom after rain
Record the original interior evidence before it fades from memory: the room or attic location, the edge of a stain, the first wet point, and the weather conditions that made it appear. After the repair, observe the same safe locations during or after a comparable rain. A repair for wind-driven rain cannot be meaningfully checked against a light vertical shower alone.
Do not repaint a stain immediately just to make the room look finished. First confirm that the moisture source has been addressed and affected materials are dry enough for the appropriate restoration work. An old stain may remain visible after a successful repair, so compare whether it changes rather than assuming that discoloration alone proves active water.
For today’s related Indian Trail repair, a powered-attic-fan leak may involve the flange, surrounding shingles, fasteners, housing, condensation, or another opening upslope. The finished check should therefore compare the documented diagnosis with both the exterior repair and the attic moisture path. If the symptom returns, that does not automatically identify which part failed; it does justify a prompt, focused reinspection.
Close out materials, warranty terms, and unresolved items
Keep the final invoice, paid receipt, product identification, written workmanship terms, and callback instructions with the photo sequence. GAF notes that a residential product claim may require proof of the installation date, ownership, and photographs of the reported problem. Requirements vary by product and warranty, but complete records are more useful than trying to reconstruct a repair months later.
Read the actual coverage rather than assuming every repair carries the same warranty. Confirm when coverage starts, which work or materials it applies to, the exclusions, and how quickly a concern should be reported. A contractor workmanship promise and a manufacturer product warranty address different responsibilities.
Write down unresolved items before final closeout. If a gutter was loosened, a piece of siding was removed, a fan needs separate electrical work, or an interior material still needs drying or restoration, assign the next step instead of letting it disappear inside the phrase “roof is done.”
When to ask for a follow-up inspection
Ask for follow-up when the original leak returns, a stain grows, insulation becomes damp, a repaired shingle lifts, flashing moves, a vent housing shifts, or the completed work does not match the documented scope. Report the date, weather, and exact location. Do not wait for repeated water entry simply to build a larger case.
Urgent conditions come first. Keep people away from bulging drywall, active water near electrical equipment, falling materials, or a visibly unstable roof area, and contact the appropriate qualified professional. This guide cannot diagnose concealed decking, wiring, ventilation, or structural conditions for a specific home.
Kaliber Roofing serves Indian Trail first with documented, repair-first inspections. Same-day or next-day appointments are available subject to current scheduling. A follow-up should compare the original evidence, repair scope, progress photos, and current condition before recommending another patch or a broader project.
Related guidance
Common questions
Should I pay for a roof repair before it rains?
Follow the written payment terms you approved. Before final closeout, confirm that the agreed work is complete, changes are documented, photos and warranty terms are delivered, and unresolved items are listed. A rain event can provide useful follow-up evidence, but payment rights and obligations depend on the actual contract.
How can I check a roof repair without climbing up?
Review the written scope and photo sequence, inspect the roof from several safe ground locations with phone zoom or binoculars, and observe the original interior or attic location only where access is safe. Ask the contractor to explain concealed or elevated details rather than stepping onto the roof yourself.
Does a different shingle color mean the repair was done wrong?
Not by itself. New and weathered shingles may not match perfectly. Confirm product compatibility, the agreed appearance, correct tie-in, secure edges, and the water-shedding details instead of treating color alone as a workmanship test.
What if the roof still leaks after the repair?
Document when and where moisture returned, protect the interior, and contact the contractor promptly. Compare the new evidence with the original repair boundary. Water may be entering through the repaired detail, an adjacent or upslope opening, condensation, plumbing, or another source, so the next inspection should trace the path rather than add sealant blindly.
Sources and editorial notes
- National Roofing Contractors Association overview of its asphalt-shingle repair manual
- NRCA homeowner guidance for asphalt-shingle inspection, maintenance, and repair
- GAF homeowner guidance on safely observing and documenting roof conditions
- GAF residential warranty-claim documentation guidance
Prepared with AI assistance and editorially reviewed by Sage. General homeowner guidance; not an on-site diagnosis, contract or warranty interpretation, insurance determination, or substitute for evaluation by the appropriate qualified professional.